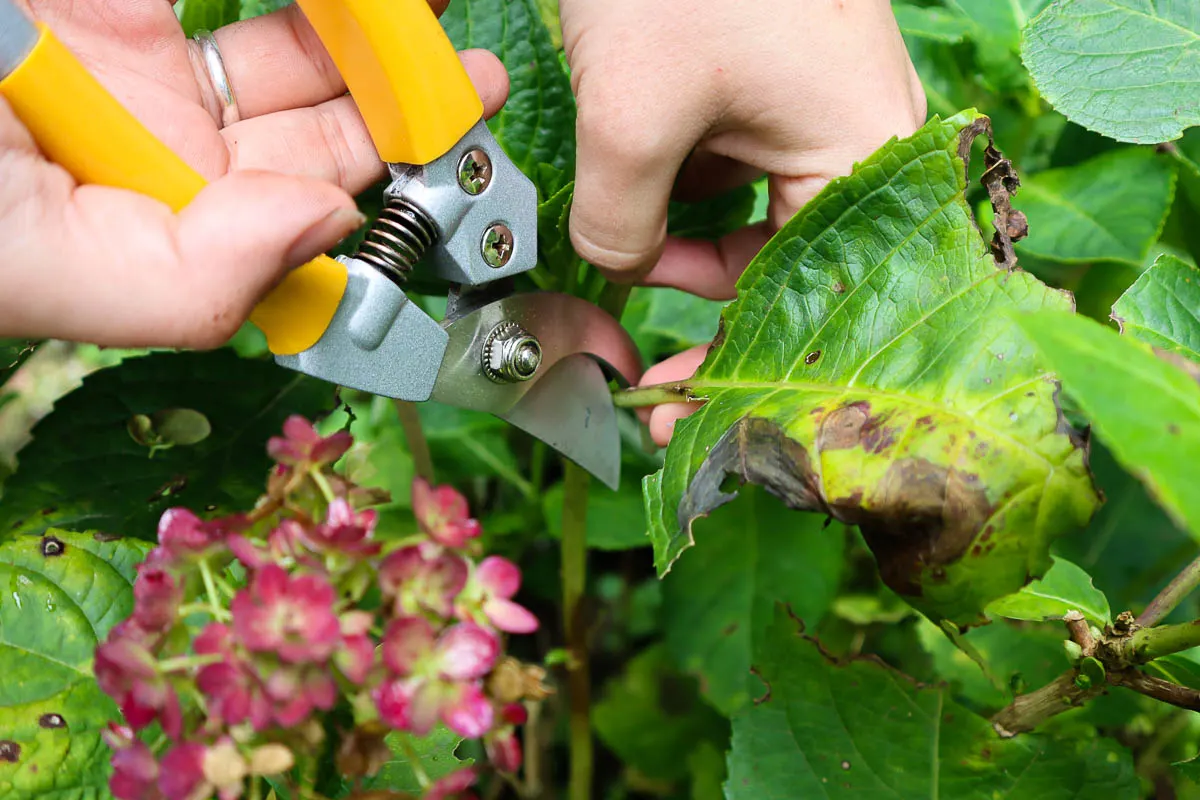
If you don’t prune hydrangeas, they become a mass of woody sticks, reducing flowering. They can be regularly pruned to maintain their shape, remembering not to cut into old wood.
The other common hydrangeas like Hydrangea arborescens and Hydrangea paniculata flower on new growth and can then be pruned with other shrubs after they have finished flowering, or in late winter or early spring.
6. Provide Winter Protection
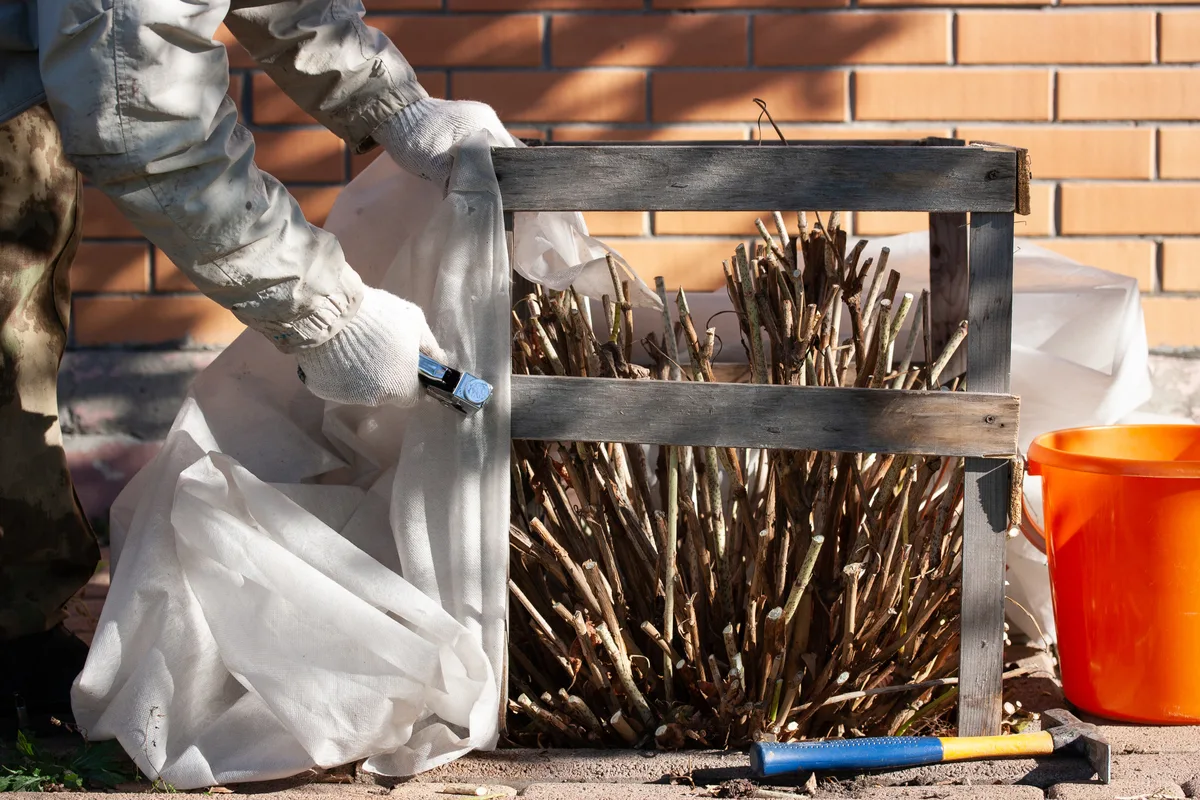
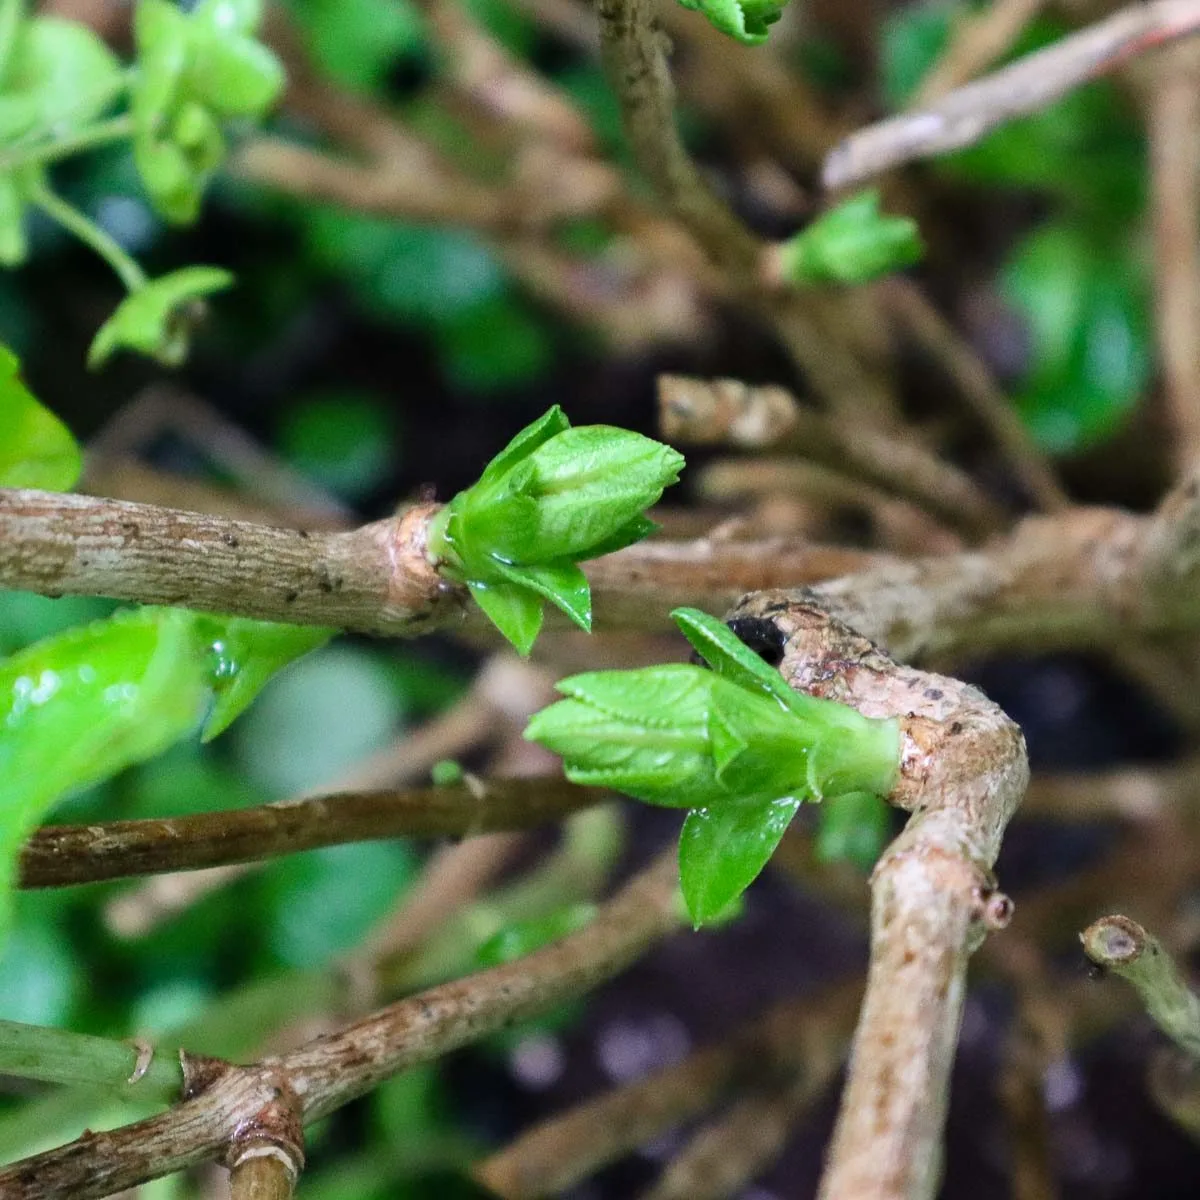
Especially for those hydrangeas grown in colder zones, protection of the buds that appeared in the late summer and fall is essential for the blooming season the next summer.
Some varieties are more susceptible to losing their buds than others. Plants like Hydrangea macrophylla, Hydrangea serrata and Hydrangea quercifolia are an easy target for winter cold snaps. If temperatures drop too low, there is a chance of losing any new growth too.
Hydrangeas are quite cold-tolerant and will recover well from frost damage. But, they will more than likely not perform as well in the spring and summer as their flower quality will be impacted.
Most hydrangeas will survive to temperatures down to -10F. However, to make sure that the buds are protected in colder weather and during spring frosts, they should be covered with frost protection fabric or fleece at a temperature below when temperatures drop below 15F. Fluctuating temperatures can also have an effect on buds.
7. Mulch

A good layer of organic mulch around the base of the plants will help keep the roots warm, but will probably do nothing for the buds if the weather is too cold. The main reason for mulch is to keep the soil moist and to give the soil an extra boost of organic nutrients that slowly degrade into the soil.
Any improvements in the soil will improve the flowering and growth of hydrangeas. Remember to keep the mulch away from the stems of the plants to prevent rotting.
Mulch with a layer 3 inches thick in the summer when the weather is hot. This will keep as much moisture in the soil as possible. If you are wanting blue hydrangeas, use pine bark or peat to increase the acidity in the soil. If not, a good layer of compost will do.
8. Improve The Soil
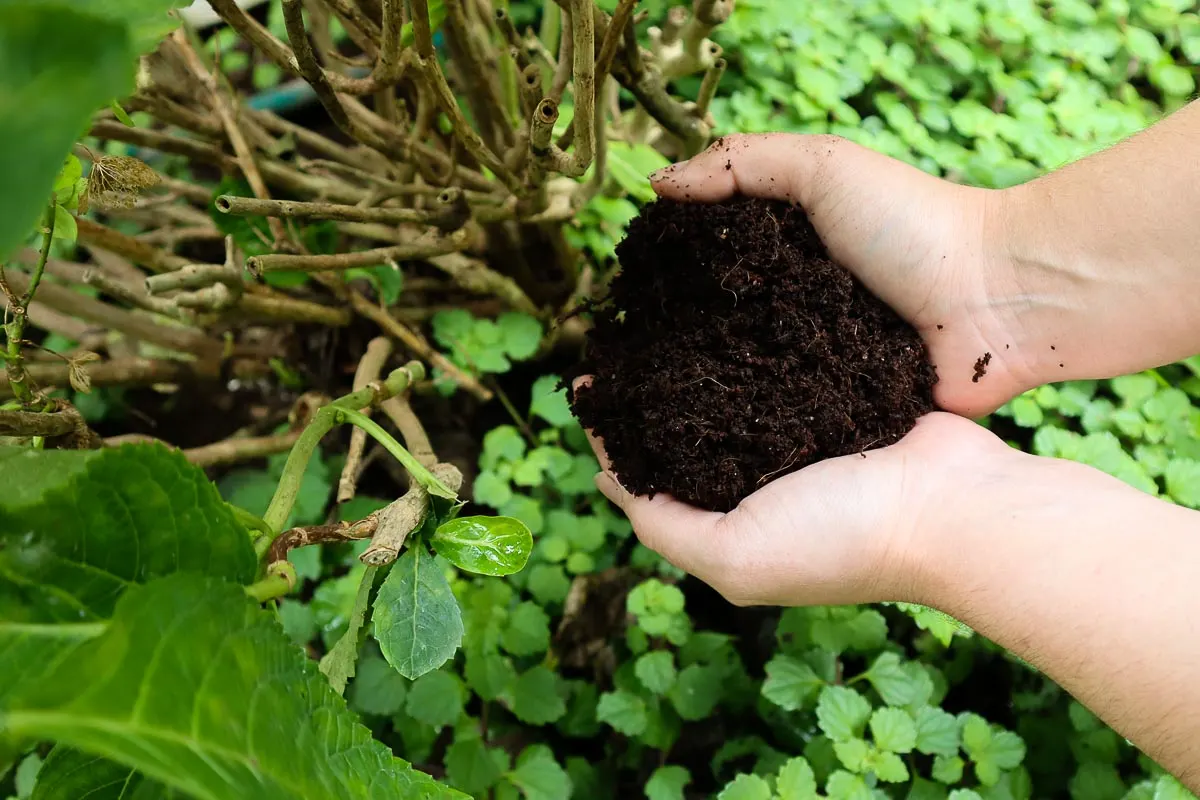
Most hydrangeas come from a natural habitat where the soil is humus-rich and full of nutrients. This type of soil can be achieved by adding organic matter into the soil and regularly adding soil improvers like compost, vermicompost, or natural liquid fertilizers.
When planting hydrangeas, make sure to add plenty of compost to the soil and a few handfuls of organic slow-release fertilizer.
Sandy soils and dried-out potting soils can be hydrophobic, meaning they don’t absorb water as well anymore. This means the hydrangeas don’t get enough water, but also nutrients that are carried by water. Add organic soil amendments to improve soil texture and moisture retention.
The problem with clay soils is the opposite of hydrophobic sandy soils, but the response is the same. Heavy water-laden clay soils that hold onto too much water cause the roots of plants to rot. Clay soils also do not have enough aeration which is also essential for good root health.
Hydrangeas need plenty of water, but cannot be left to sit in water for long periods. Adding plenty of organic matter to clay soils will also improve structure.
9. Deadhead Frequently
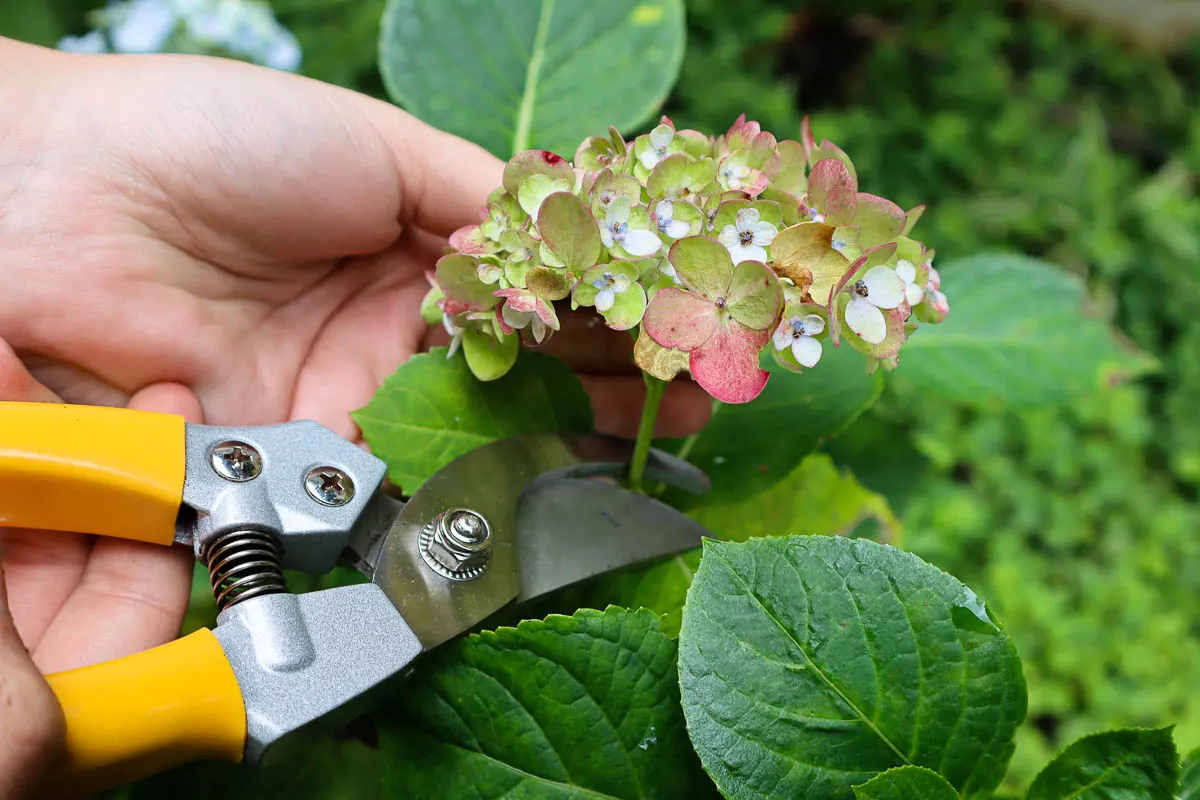
During the flowering season in spring, summer and fall, hydrangeas need deadheading regularly. This practice not only removes the browning blooms, but also helps the plant use its energy for producing more blooms, extending the flowering season.
It’s important to remember not to cut off any new buds. Before cutting off any old flowers, check for new buds and cut the stem back to the bud – not any further. Use a clean pair of shears to avoid moving any possible diseases between plants.
In winter, you can keep the dead flowers on the plant to shelter the new buds on the stems beneath them. Then cut them off in spring instead.
10. Keep An Eye On Pests And Diseases
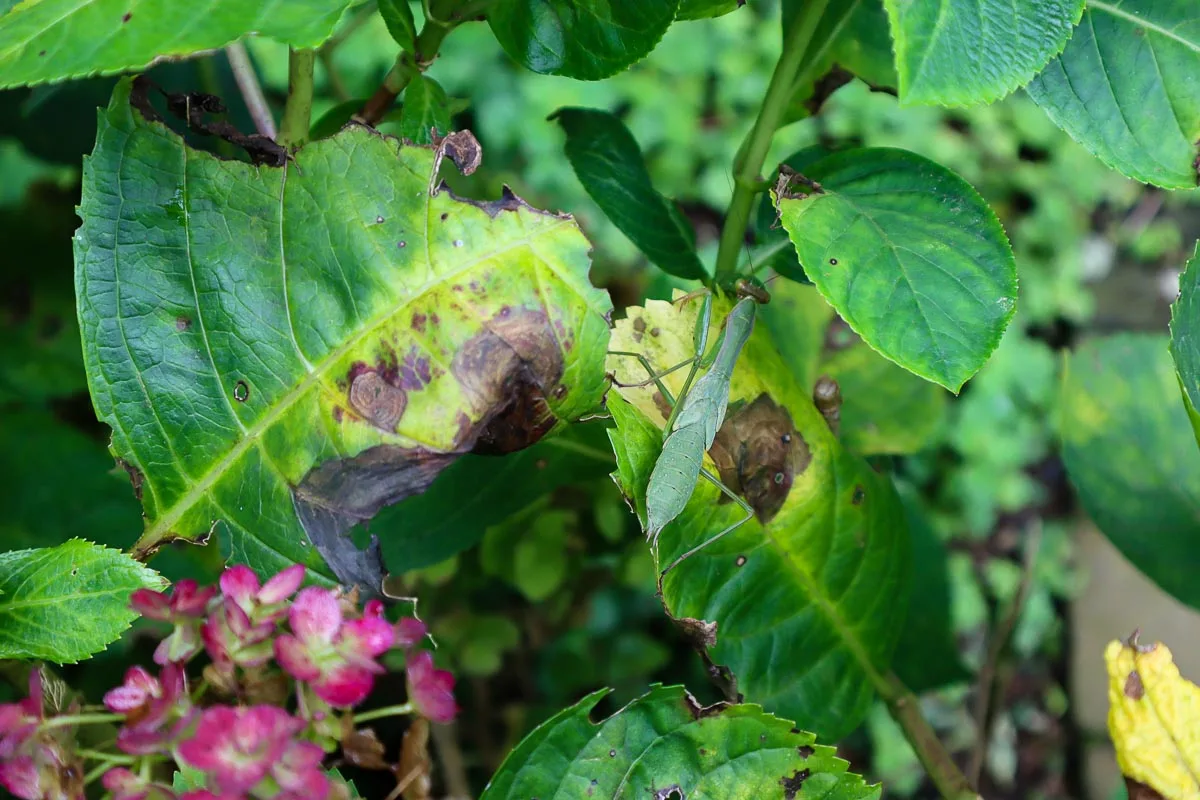
Pests and diseases affect the way a plant grows and ultimately, how it’s going to flower. By keeping pests and diseases at bay, you will give your hydrangeas the best chance to flourish and bloom to their fullest.
Keep an eye out for the following pests and diseases to tackle them as soon as they appear.
Botrytis Blight
This fungus causes flower buds to die before they are open and petals to fall off mature flowers. It also causes leaf spots, particularly where the infected flower petals land on the leaves.
Make sure there is enough space between plants and that the leaves and flowers are not watered. Also, water early in the day and apply a fungicide should the problem persist.
Powdery Mildew
This fungus can be identified by the white cottony powder that forms on the leaves, especially on the underside. The leaves may also change color to yellow or purple.
Apply a fungicide as soon as the problem is spotted to control it.
Leaf Spot
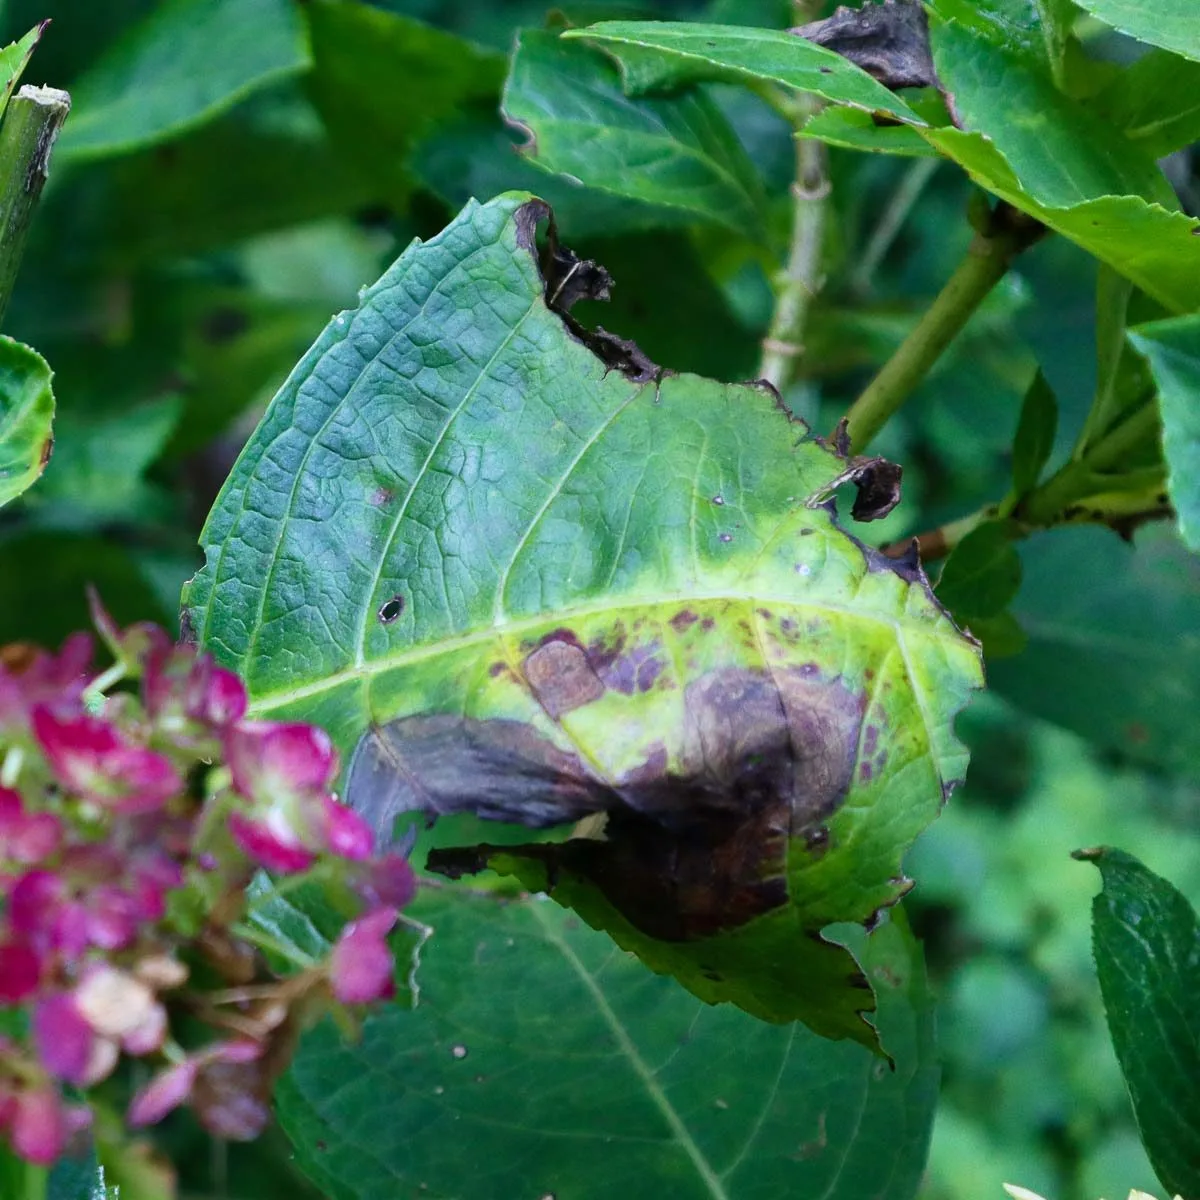
As the name suggests, these fungi are identified by spots on the leaves, usually associated with watering the leaves and flowers and not the soil. There are various types that cause leaf spots including Cercospora and Phyllosticta. Treat with a natural fungicide to bring the plants back to good health.
Bacterial Wilt
This bacteria looks like blight on the leaves and flowers. In heavy infections, it cause the whole plant to wilt and the roots to rot. Unfortunately, there is no treatment for this disease so it’s imperative that good water practices are followed.
Viruses
There are several viruses that can affect hydrangeas. They usually manifest themselves as marks, spots and blemishes on the leaves. These include Hydrangea Ringspot Virus, Hydrangea Mosaic Virus and Tomato Ringspot Virus.
These viruses often cause flowers to be deformed, small or have odd colors on their petals. They can be spread from plant to plant by secateurs, so it’s important to disinfect between uses and between plants. Some of these viruses are also spread by nematodes in the soil.
As there is no cure, it’s best to remove and discard the plant to prevent it from infecting any others. Practicing good soil and maintenance methods will help prevent these in the first place.


